ME 295
LabView Tutorial - Temperature Control
INTRODUCTION
In this tutorial, you will create your first Virtual Instrument (VI). It is of a simple temperature control and thermometer indicator. In this tutorial you will:
START LABVIEW
- Unix: Enter labview in a terminal window
- Windows: Start > All Programs > National Instruments > Labview 6.1 > Labview

You should see the Labview Introduction Screen
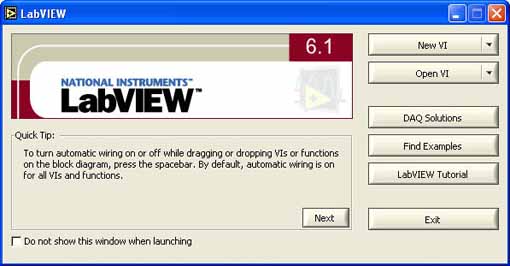 : :
CREATE A NEW VI
- Click on New VI

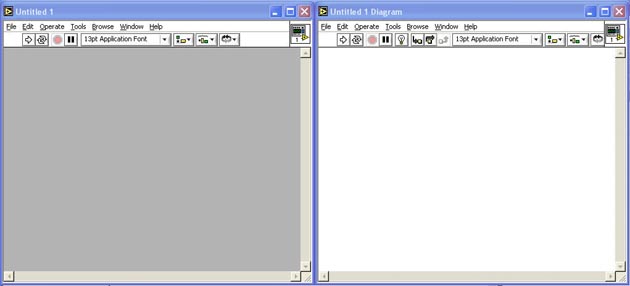
You should see the Front Panel and Block Diagram windows on top of each other
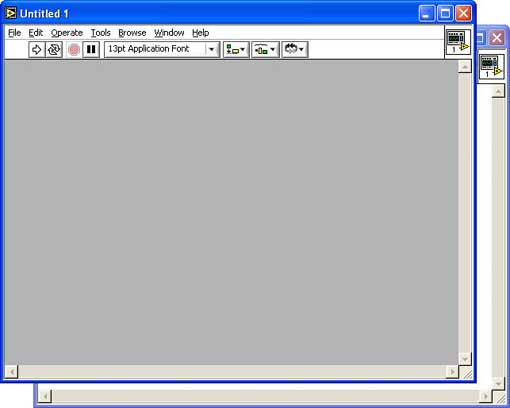
ARRANGE THE FRONT PANEL AND DIAGRAM WINDOWS
- Click on Window > Tile Left and Right
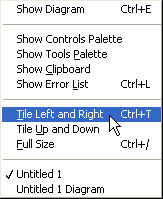
You should see the two windows arranged side-by-side with the Front Panel on the left and the Diagram on the right
SHOW THE TOOLS PALLETE
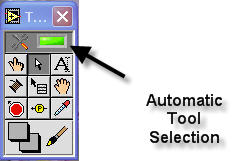
- Click on Window > Show Tools Palette (If the Tools Palette is not already showing)

You should see the Tools Palette
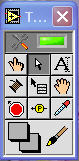
Make sure the Automatic Tool Selection is selected
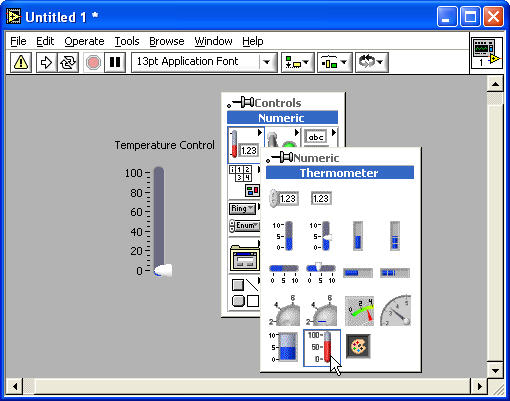
ADD A TEMPERATURE CONTROL
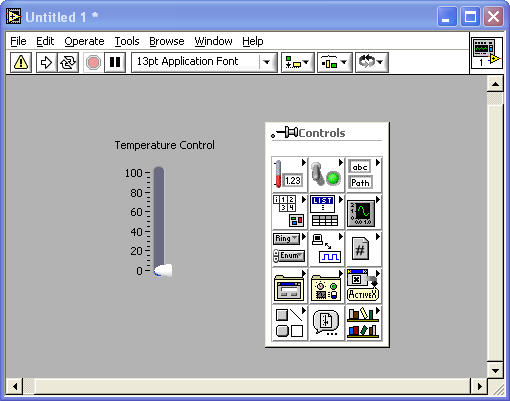
- Right-Click on the Front Panel Window
You should see the Controls Palette
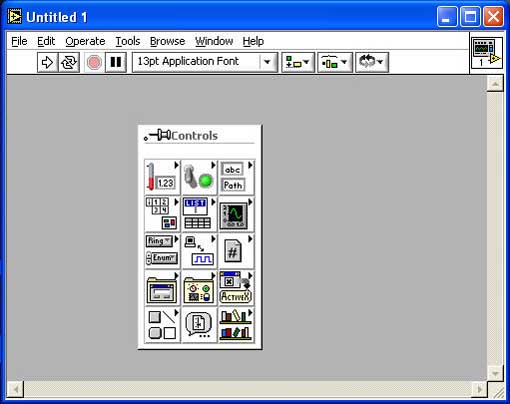
- Bring the cursor over the Numeric button (Upper Left)
The Numeric Menu should appear
- Bring the cursor over the Vertical Pointer Slide > Left-Click on the selection and drag the control onto the Control Panel
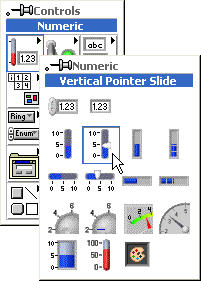
You should see the Vertical Slider Control appear on the Control Panel and the Control's Terminal appear in the Block Diagram
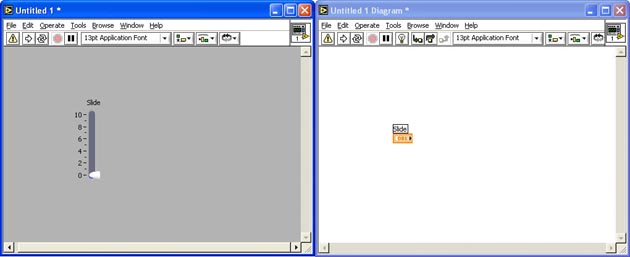
- Double-Click the Slider Control label
It turns black
- Type Temperature Control into the text field > Click somewhere outside the text field
- Select and drag the Slider Control title into place
- Double-Click and edit the 10 text field at the top of the Slider Control to be 100
You should see the modified Slider Control

ADD THE THERMOMETER INDICATOR
- Right-Click on the Front Panel Window
You should see the Controls Palette
- Bring the cursor over the Numeric button (Upper Left)
The Numeric Menu should appear
- Bring the cursor over the Thermometer > Left-Click on the selection and drag the control onto the Control Panel
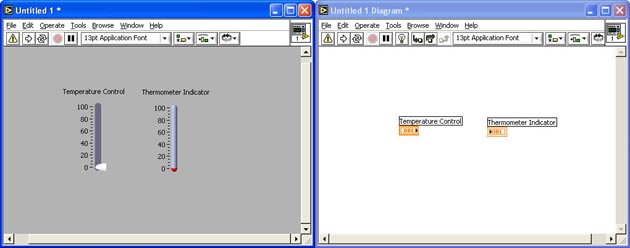
Modify its label to Thermometer Indicator
You should see the Thermometer Indicator appear on the Control Panel and Diagram
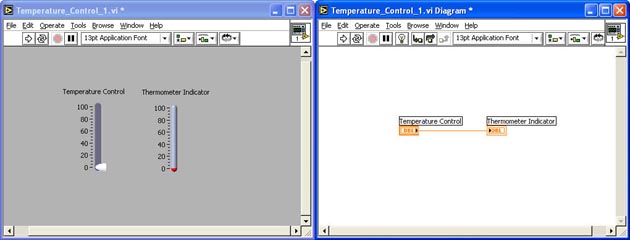
Your Control Panel and Block Diagram should look like this:
WIRE THE TEMPERATURE CONTROL TO THE THERMOMETER INDICATOR
- In the Block Diagram, bring the cursor close to the right end of the Temperature Control on the Diagram window
It should turn into a small wire spool
- Click and drag a wire to the left end of the Thermometer Indicator on the Diagram window
You should see the control and indicator wired together
Your Control Panel and Block Diagram should look like this:

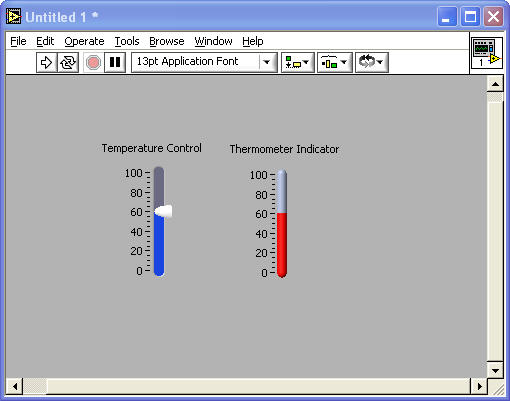
RUN THE VI WITH RUN AND CONTINOUS RUN
- Slide the Temperature Control up to 60
- Click on the Run button
 on the Front Panel on the Front Panel
The Thermometer Indicator should also indicate 60
Note: If the Run button looks like this  , Then there is something wrong with your VI that needs to be fixed , Then there is something wrong with your VI that needs to be fixed
- Click on the Continuous Run button
 and move the slider on the Temperature Control up and down and move the slider on the Temperature Control up and down
The Thermometer Indicator should follow the control exactly
- Click on the Abort Button
 to Stop the continuous run to Stop the continuous run
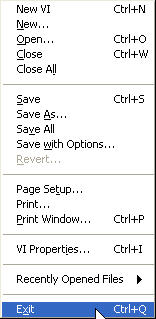
SAVE THE VI
- Click on File > Save and save it as: Temperature_Control_1.vi
EXIT LABVIEW
- Select File > Exit to exit Labview
|
